- Painting Tips & Techniques
How to Paint Tiles: A Guide to Transforming Your Bathroom or Kitchen
Paint can be an effective way to transform tiled spaces, but whether it’s a good idea depends on a variety of factors. Let’s start with the basics.
When You Can Paint Tile
Ceramic, porcelain, and natural stone tiles can usually be painted, provided the surface is properly prepped. Low-moisture areas like backsplashes, walls, and fireplace surrounds, are the best candidates.
Keep in mind that tile floors and high-traffic areas can be painted, but they’ll wear faster and will require extra prep and sealing.
When You Shouldn’t Paint Tile
In wet, high-use areas like shower walls or inside tubs, paint usually won’t hold up well. What’s more, if your tile is cracked, loose, or damaged, it’s best to make repairs or replacements before painting.
Some Pros of Painting Tile
It’s an affordable way to add style and personality to a space. You can replace colors or patterns that don’t fit your aesthetic goals without the need for new tile. It also gives you a wide range of color choices. (More on choosing those colors below.)
Some Cons of Painting Tile
The results are not as durable as new tile. Paint can chip or peel, especially in high-traffic areas. Preparation is necessary, but can be time consuming.
Choosing the Right Paint and Finish for Your Tiles
This depends on where your tile is located, as floors and walls face very different levels of wear.
Wall Tile Paint
Walls, backsplashes, and low-impact areas don’t need the toughest coatings. They do well with acrylic latex paint, which is easy to apply and is available in an array of colors. If you want a matte look, consider chalk paint, which can be sealed for protection.
For the finish, go with satin or semi-gloss, which are both easy to clean and hold up well, as long as they’re not in areas exposed to direct water.
Floor Tile Paint
Paint on these high-traffic surfaces need maximum adhesion and toughness. It’s usually best to go with a two-part epoxy paint, which is very durable and water-resistant. You can also look for specialty concrete and tile paints, which are formulated to withstand foot traffic.
You’ll likely want a satin or low-sheen finish, either of which will hide scuffs better than high-gloss.
Even with the right products, expect some touch-ups to be needed over time.
Choosing the Right Color for Your Tiles
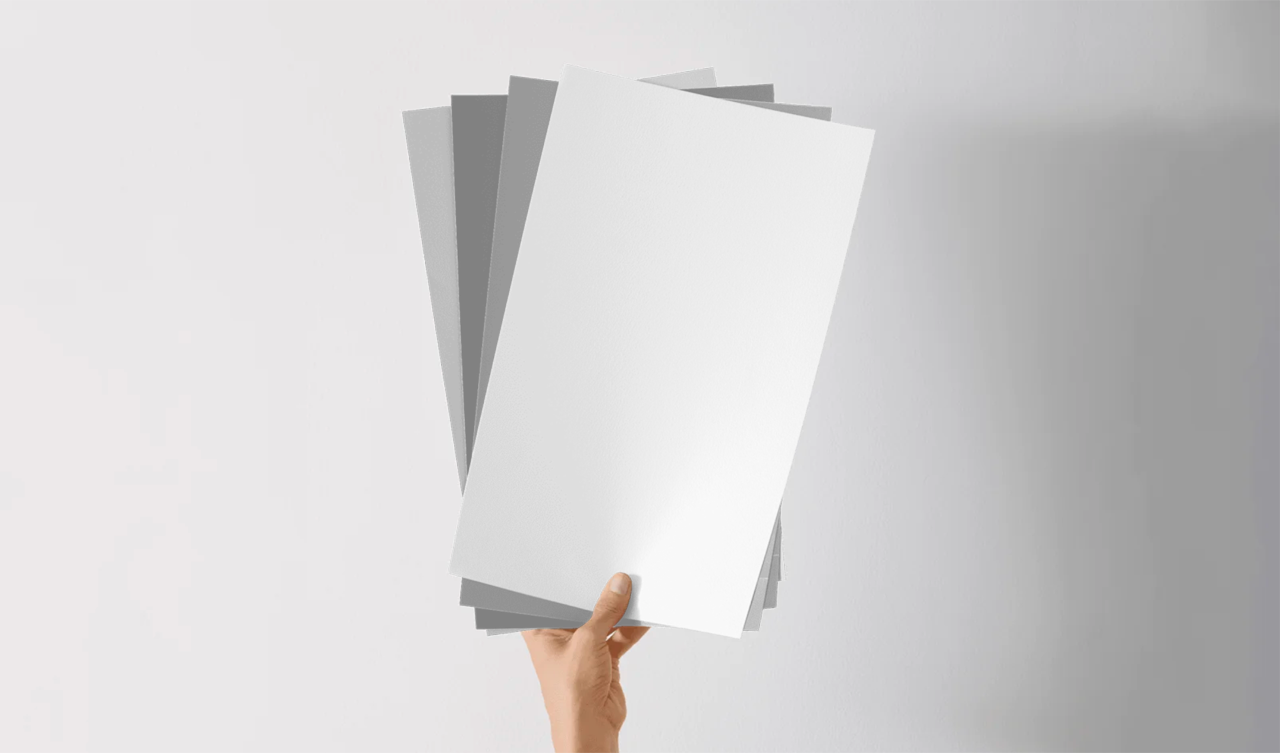
Getting this choice right requires sampling various colors, so you can see how each will actually look in your space. Samplize offers a mess-free and stress-free way to do just that. Here’s how it works.
1. Explore the Possibilities
Start by going here and browsing our huge collection of colors from leading brands like Benjamin Moore and Sherwin-Williams. Order your favorites, and your large-format peel-and-stick samples will arrive on your doorstep the very next day.
2. Peel and Stick
Every one of your samples will be painted (not printed) with two coats of real paint, so you’ll be able to really see how each shade actually looks in various conditions. Make sure to test one sample on an inconspicuous spot first and then feel free to apply them all side by side.
3. Choose With Confidence
Take your time, here. Turn the lights on and off. Close and then open any blinds or curtains. Wait for sunrise, midday, and sunset. Ask friends and family for their opinion. If after all that you haven’t found your ideal color or colors, just repeat these easy steps until you do.
Preparing Your Tiled Surface for Painting
1. Cleaning the Tile
-
Use a strong cleaner to remove grease, soap scum, and dirt.
-
Scrub grout lines with a stiff brush.
-
Wipe everything down with clean water to remove any cleaner residue
-
Let the surface air dry or towel dry thoroughly.
2. Sanding and Repairing
-
Use 220-grit sandpaper or a sanding block to scuff the tile finish. You’re not removing the glaze completely—you’re just dulling it.
-
Feather out chips or sharp edges with extra sanding.
-
Fill damaged grout lines or chips with a patching compound or epoxy filler. Once it’s dry, sand it all smooth.
-
Wipe the surface with a tack cloth or damp rag to remove sanding dust.
3. Priming the Tile
-
Apply a bonding primer (specifically formulated for glossy surfaces), rolling or brushing a thin and even coat across tiles and grout.
-
Let the primer dry as directed (usually 4–6 hours).
-
For high-traffic areas like floors, consider a second coat of primer for added durability.
-
After drying, lightly scratch the primer with your nail. If it scrapes easily, you may need another coat or more sanding.
Once your surface is clean, sanded, repaired, and primed, you’re ready to paint!
Tips for Painting
Choose the Right Tools
-
Use a high-density foam roller for a sleek and even finish.
-
Use an angled brush for grout lines, corners, and edges.
-
For floors, consider a quality floor roller.
Be Safe
-
Ventilate the space as much as possible. Use a respirator when sanding or using solvent or epoxy products and wear gloves and eye protection.
-
Carefully read and follow all product label instructions.
-
Dispose of solvent-soaked rags safely, following local regulations.
Apply Thin, Even Coats
-
2–3 thin coats work best. One thick coat will peel and chip more easily.
-
Roll in one direction, and then lightly back-roll without adding more paint to your roller.
Let Each Coat Cure Properly
-
Check the paint label to see how long you should allow for curing between coats. It’s often 4–6 hours for acrylics and 12–24 hours for epoxies.
-
Don’t rush. If the paint still feels tacky, give it more time.
Mind the Grout
-
Paint will cover grout, but if you want contrast, use a grout paint pen after your tile paint cures.
-
For a seamless look, just brush paint directly into grout lines.
Sand Lightly Between Coats
-
For an ultra-smooth and professional finish, lightly sand with 320–400 grit sandpaper after each coat dries.
-
Wipe away any and all dust before applying the next coat.
Seal for Durability
-
On walls or backsplashes, use a water-based polyurethane topcoat.
-
On floors, use an epoxy or polyurethane topcoat designed to withstand foot traffic.
-
Let the first coat fully dry, and then add a second.
Give It Time to Cure
-
Light use is typically okay after 48 hours.
-
Avoid scrubbing, moving furniture, or heavy use for the first week. The longer you wait, the stronger the finish will be.
Maintain Gently
-
Clean the surface occasionally with mild soap and water.
-
Avoid abrasive scrubbers, bleach, or ammonia-based cleaners.
-
Keep leftover paint for later touch-ups.
Ready to Start?
A lot goes into revitalizing tiles with paint, but the most exciting part is finding the right color. Start your search right here.